













![[2 Pack] Coospo Breathable Neck Gaiter Face Scarf Mask COOSPO](http://www.coospo.com/cdn/shop/files/106de7b046babc03aa610173af6e31aa_599da3fe-9907-4b1e-8eb0-f08b3032720b.png?v=1720591174&width=1600)


![[4 Pack] Coospo Soft Breathable Chilly Towel, Microfiber Towel COOSPO](http://www.coospo.com/cdn/shop/files/1_904094cc-62ee-40e9-aa21-415effb385b4.png?v=1720527561&width=1600)

Einführung
Jeder Radfahrer erinnert sich an seinen ersten katastrophalen technischen Defekt – einen plötzlichen Reifenplatzer in einer steilen Abfahrt, eine abgesprungene Kette an der Ampel oder eine verrutschte Sattelstütze nach acht Kilometern einer 80-Kilometer-Tour. Fahrräder sind zwar wahre Meisterwerke der Mechanik, aber auch dynamische Maschinen, die starken Vibrationen, Stößen auf der Straße und Umwelteinflüssen ausgesetzt sind.
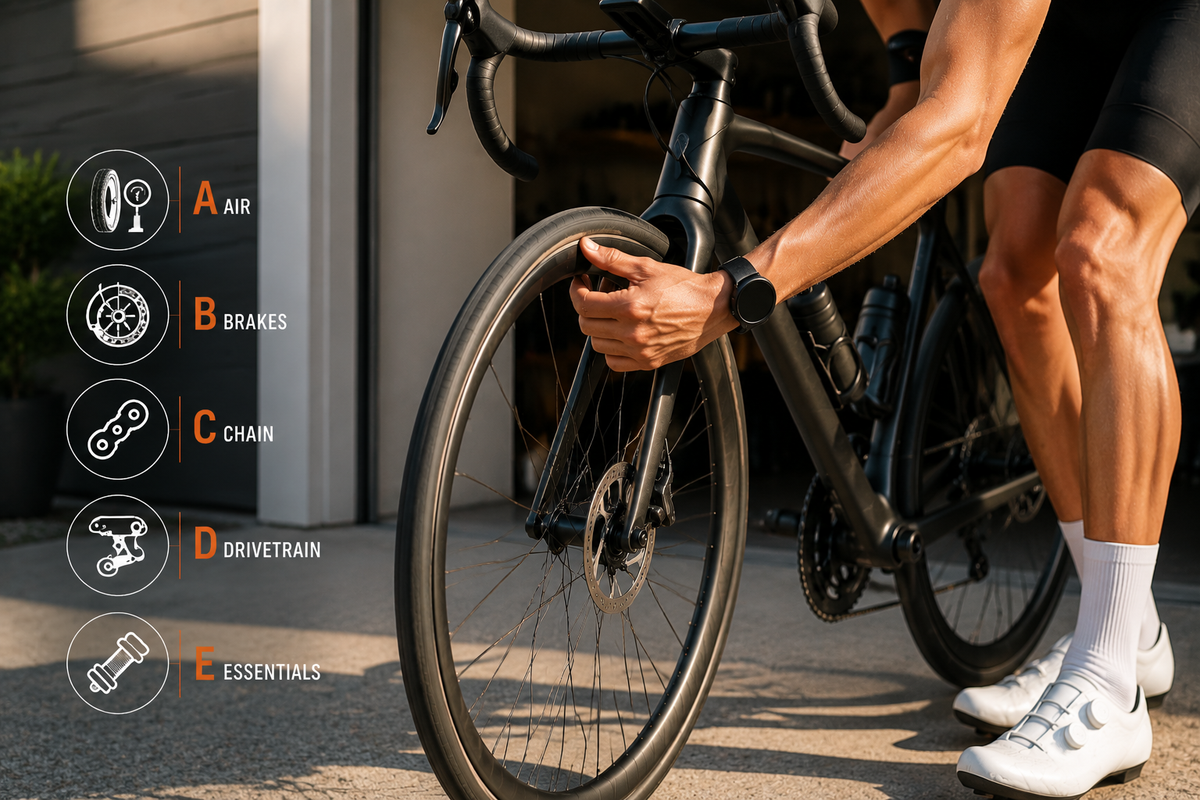
Wenn Sie unseren ausführlichen Leitfaden zur allgemeinen Fahrradpflege bereits gelesen haben, wissen Sie, dass Regelmäßigkeit der Schlüssel zu einer langen Lebensdauer ist. Tägliche Wartung bedeutet aber nicht, vor jeder Fahrt eine Stunde mit dem Schraubenschlüssel zu verbringen. Hier kommt der ABCDE-Vorfahrtsinspektion—ein systematisches, fünfminütiges Sicherheitsprotokoll, das sowohl von professionellen Mechanikerteams als auch von erfahrenen Grand-Tour-Veteranen angewendet wird.
Durch die Durchführung dieser fünf Schnellchecks vor Fahrtantritt vermeiden Sie 90 % der häufigsten Pannen unterwegs, schonen teure Bauteile und garantieren eine sicherere und angenehmere Fahrt.
Schritt A: Luft (Reifendruck, Profiltiefe) & Perlenbefestigung)
Die Reifen Ihres Fahrrads sind die einzige Kontaktfläche zum Boden – eine Fläche pro Rad, die nicht größer als eine Briefmarke ist. Der richtige Reifendruck dient nicht nur der Vermeidung von Reifenpannen, sondern beeinflusst auch die Bodenhaftung, den Rollwiderstand und die Kurvenstabilität.
1. Finde den optimalen Druckpunkt, nicht den maximalen Druck:
Prüfen Sie die Reifenflanke auf den vom Hersteller empfohlenen Reifendruck (PSI/Bar). Wichtig: Der maximal angegebene Druck ist selten optimal. Schwerere Fahrer, breitere Reifen und Nässe erfordern individuelle Anpassungen.
Rennräder (25 mm–28 mm): Typischerweise 70–90 PSI.
Gravelbikes (38 mm–45 mm): Typischerweise 30–50 PSI.
Mountainbikes (2.2"–2.4"): Typischerweise 20–30 PSI (Schlauchlose Systeme können mit niedrigerem Druck betrieben werden).
2. Der Quetschtest im Vergleich zur Standpumpe:
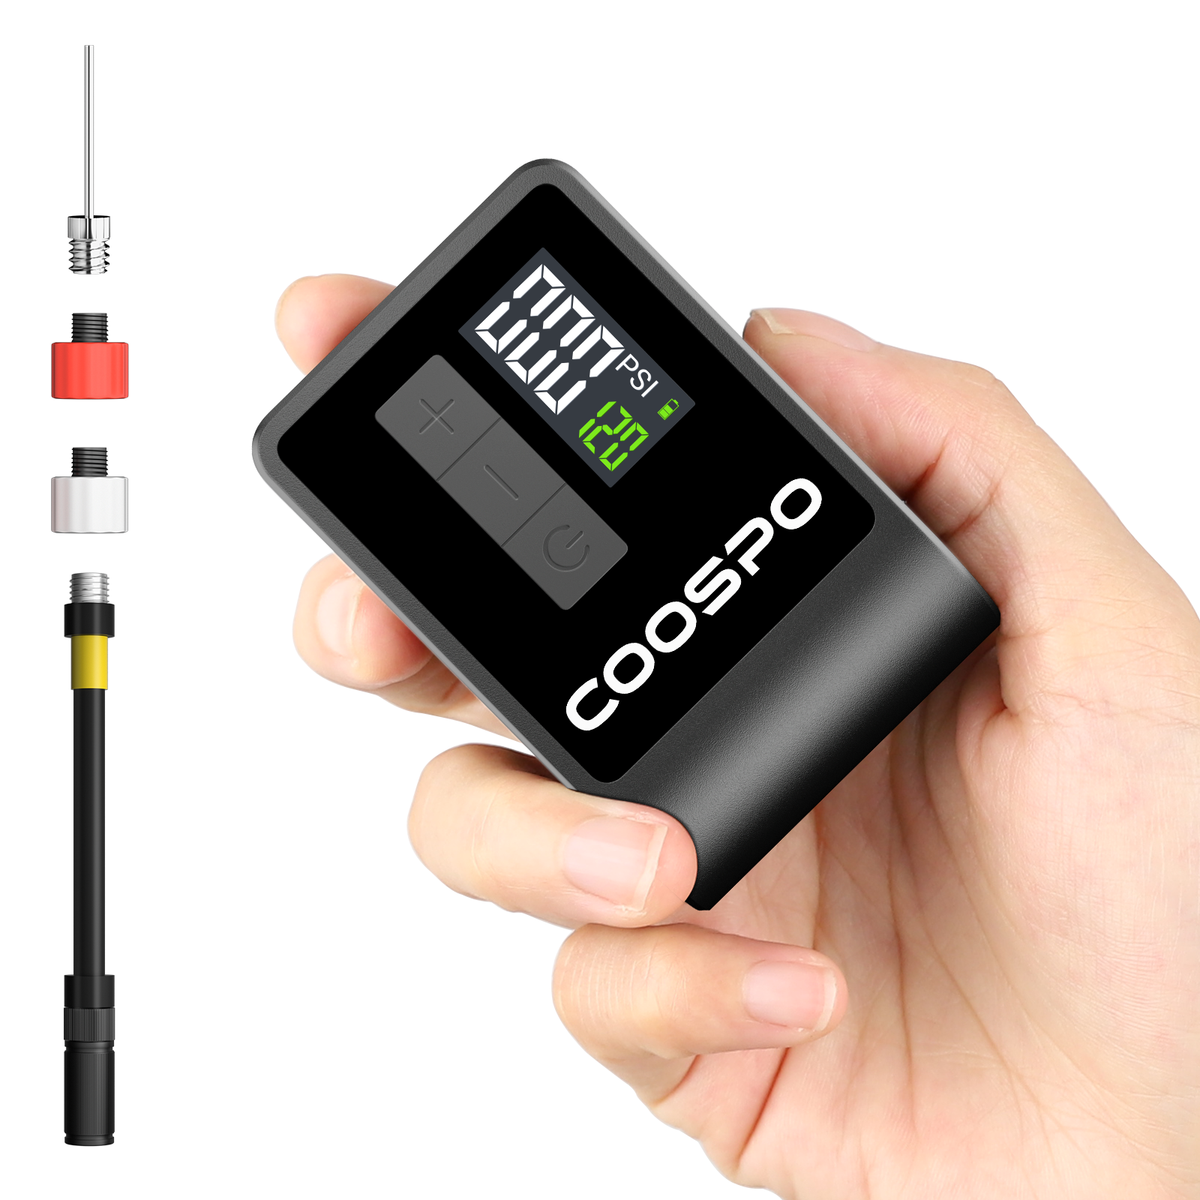
Verlassen Sie sich niemals allein darauf, den Reifen mit dem Daumen zusammenzudrücken. Ein Reifen mit 40 PSI fühlt sich für die Finger genauso fest an wie einer mit 80 PSI. Verwenden Sie mindestens zweimal pro Woche eine Standpumpe mit präzisem Manometer.
3. Überprüfen Sie die Laufflächenhülle:
Drehen Sie beide Räder langsam. Achten Sie auf eingebettete Feuersteine, Glassplitter, Drahtlitzen oder tiefe seitliche Schnitte. Entfernen Sie kleinste Fremdkörper mit einer Pinzette, bevor sie den Schlauch beschädigen. Prüfen Sie, ob der Reifenwulst rundum gleichmäßig im Felgenbett sitzt.

Schritt B: Bremsen (Bremsbelagverschleiß, Seilspannung) & Hydraulische Modulation)
Ihre Fähigkeit, sicher anzuhalten, ist weitaus wichtiger als Ihre Höchstgeschwindigkeit. Egal, ob Ihr Fahrrad über traditionelle Felgenbremsen oder moderne hydraulische Scheibenbremsen verfügt: Testen Sie Ihre Bremskraft, bevor Sie einklicken.
1. Der Hebeldrücktest:
Ziehen Sie beide Bremshebel fest in Richtung Lenkergriff.
Gesunde Reaktion: Der Hebel sollte bei der Hälfte seines Hubs deutlich einrasten und sich fest/solide anfühlen.
Warnschild: Lässt sich der Hebel bis zum Lenkerband durchziehen, sind entweder Ihre Bremszüge gedehnt, Ihre Bremsbeläge komplett abgenutzt oder es haben sich Luftblasen in Ihrer Hydraulikleitung gebildet, die ein Entlüften des Systems erforderlich machen.
2. Pad-Ausrichtung & Abnutzungsspuren:
Scheibenbremsen: Schauen Sie vor hellem Hintergrund durch den Bremssattelschlitz. Prüfen Sie, ob die Bremsscheibe mittig zwischen den Bremsbelägen sitzt und nicht schleift. Stellen Sie sicher, dass die Bremsbeläge noch mindestens 1,5 mm Belagstärke aufweisen.
Felgenbremsen: Achten Sie darauf, dass die Bremsbeläge flach auf der Bremsfläche aus Aluminium/Carbon aufliegen – sie dürfen niemals die Seitenwand des Gummireifens berühren (was zu Reifenplatzern führen kann) oder unter den Felgenrand sinken.
3. Radzentrierung:
Achten Sie darauf, dass Schnellspanner oder Steckachsen fest eingerastet sind, damit das Rad mittig im Rahmen/in der Gabel sitzt und die Bremsbeläge gleichmäßig ausgerichtet sind.

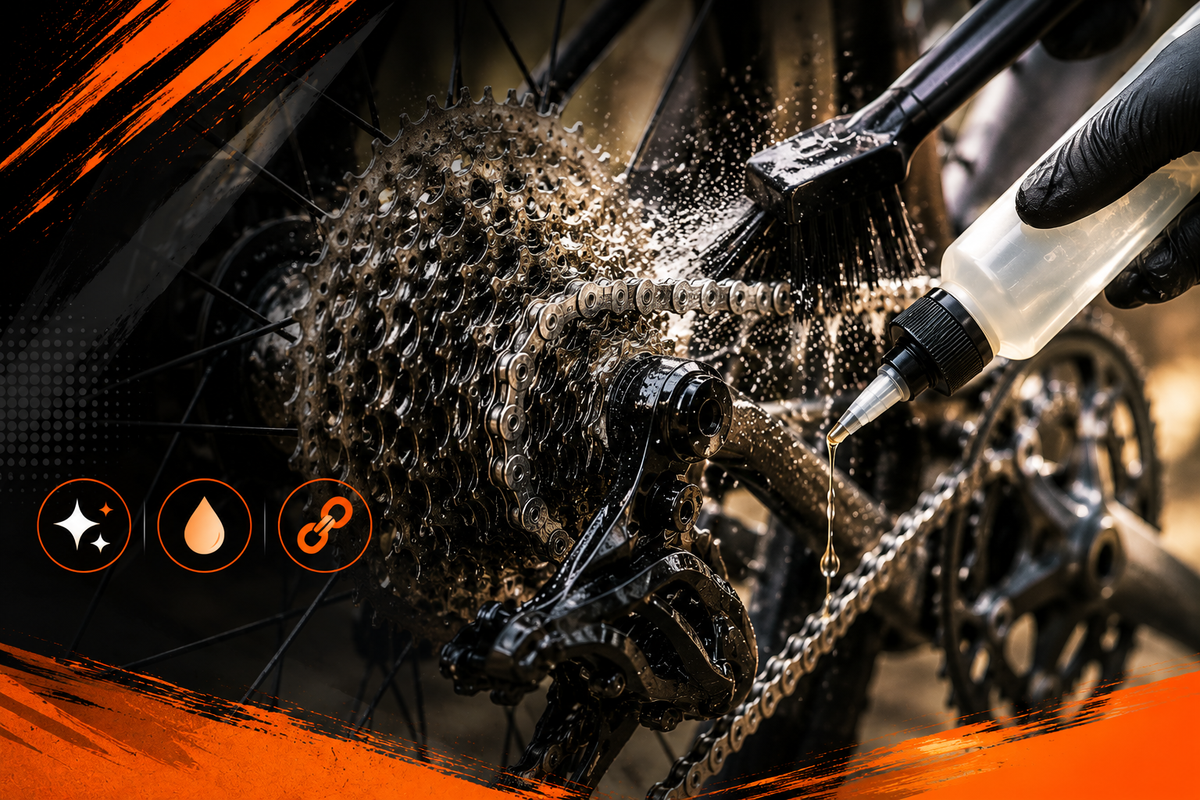
Schritt C: Kette & Kassette (Schmierung) & Link Health)
Eine vernachlässigte Kette wirkt wie Schmirgelpapier auf Ihren Antriebsstrang und verschleißt teure Kassetten und Kettenblätter in kürzester Zeit.
1. Visuell & Auditprüfung:
Drehen Sie die Pedale rückwärts und beobachten Sie dabei die Kettenglieder.
Trocken/Rostig: Ein quietschendes Geräusch oder sichtbarer rötlicher Roststaub bedeuten, dass sofortige Schmierung erforderlich ist.
Überschmiert/Verschmutzt: Eine pechschwarze, klebrige Schlammbildung deutet auf zu viel Öl hin, das Schmutzpartikel anzieht und den Verschleiß beschleunigt.
2. Überprüfung auf steife Verbindungen:
Beobachten Sie den Lauf der Kette durch die Schaltröllchen. Wenn die Kette überspringt oder leicht springt, ist wahrscheinlich ein Kettenglied steif oder verbogen. Bewegen Sie das betroffene Kettenglied vorsichtig von Hand hin und her, um die freie Beweglichkeit wiederherzustellen.

Schritt D: Antriebsstrang (Schaltverhalten) & Schaltauge)
Durch sanftes Schalten bleibt Ihre Trittfrequenz konstant und gefährliche Kettenabwürfe werden bei hoher Pedalbelastung vermieden.
1. Statische Verschiebungsprüfung:
Heben Sie das Hinterrad an, drehen Sie die Kurbelarme nach vorn und schalten Sie die Gänge durch. Die Kette sollte sauber auf jedes Ritzel springen oder fallen, ohne zu klappern oder in die Speichen zu geraten.
2. Überprüfen Sie das Schaltauge:
Betrachten Sie Ihr Schaltwerk von hinten. Der Schaltkäfig muss absolut senkrecht und parallel zur Kassette des Hinterrads hängen. Ein verbogenes Schaltauge (oft verursacht durch Kippen des Fahrrads nach rechts oder kleinere Stürze) führt zu Schaltproblemen und kann Ihr Hinterrad beschädigen.

Schritt E: Alles andere (Drehmoment, Cockpit) & Zubehör)
Die abschließende Überprüfung umfasst die strukturelle Integrität, lose Schrauben und wichtiges Fahrerzubehör.
1. Der "Bounce-Test":
Heben Sie das Fahrrad etwa fünf bis acht Zentimeter vom Boden ab und lassen Sie es vorsichtig auf die Reifen fallen. Achten Sie dabei genau auf ungewöhnliche Klappergeräusche, metallisches Rasseln oder lose Teile. Häufige Ursachen sind lockere Flaschenhalter, wackelnde Pumpenhalterungen, lockere Steuersatzlager oder klappernde Schutzbleche.
2. Cockpitausrichtung & Drehmomentprüfung:
Knien Sie sich über das Vorderrad und drehen Sie den Lenker fest. Der Lenkervorbau sollte dabei absolut fluchtend zum Vorderrad stehen.
3. Sattelstütze & Sattelsicherung:
Fassen Sie die Sattelnase und versuchen Sie, sie hin und her zu drehen. Prüfen Sie, ob die Sattelklemmschraube oder der Schnellspannhebel korrekt angezogen ist, um ein gefährliches Verrutschen beim Fahren über Unebenheiten zu verhindern.
4. Checkliste für unverzichtbares Zubehör:
Stellen Sie sicher, dass die vorderen und hinteren Sicherheitslichter vollständig aufgeladen sind, die Computerhalterungen eingerastet sind und Ihre Satteltasche einen Ersatzschlauch, Reifenheber und eine CO2-Kartusche enthält. eine Fahrradluftpumpe.

Zusammenfassende Checkliste für Ihren Lenker
|
Schritt |
Schwerpunktbereich |
Wichtigste Maßnahme |
Benötigte Zeit |
|
A |
Luft |
Den Reifendruck mit einem Manometer prüfen; die Lauffläche auf eingelagerte Fremdkörper untersuchen. |
1,5 Minuten |
|
B |
Bremsen |
Drücken Sie die Hebel zusammen, um den Druckpunkt zu prüfen; überprüfen Sie die Dicke und Ausrichtung der Polster. |
1 Minute |
|
C |
Kette |
Prüfen Sie auf trockenen Rost, übermäßigen schwarzen Schlamm oder steife Verbindungen. |
0,5 Minuten |
|
D |
Antriebsstrang |
Schalten Sie die Gänge durch; vergewissern Sie sich, dass das Schaltwerk gerade hängt. |
1 Minute |
|
E |
Alles |
Führe einen Falltest aus 3 Zoll Höhe durch; überprüfe, ob die Schrauben an Vorbau und Sattel fest angezogen sind. |
1 Minute |
Abschluss
Sich die ABCDE-Vorabprüfung zur Gewohnheit zu machen, dauert nach kurzer Eingewöhnungszeit weniger als fünf Minuten und zahlt sich enorm in puncto Sicherheit, Leistung und eingesparten Reparaturkosten aus. Warten Sie nicht auf eine Panne, um den Wert vorbeugender Maßnahmen zu erkennen – machen Sie die ABCDE-Prüfung ab heute zu Ihrem Ritual vor jeder Fahrt!


Hinterlassen Sie einen Kommentar
Diese Website ist durch hCaptcha geschützt und es gelten die allgemeinen Geschäftsbedingungen und Datenschutzbestimmungen von hCaptcha.