























![[2 Pack] Coospo Breathable Neck Gaiter Face Scarf Mask COOSPO](http://www.coospo.com/cdn/shop/files/106de7b046babc03aa610173af6e31aa_599da3fe-9907-4b1e-8eb0-f08b3032720b.png?v=1720591174&width=1600)


![[4 Pack] Coospo Soft Breathable Chilly Towel, Microfiber Towel COOSPO](http://www.coospo.com/cdn/shop/files/1_904094cc-62ee-40e9-aa21-415effb385b4.png?v=1720527561&width=1600)

Introduction
Ask any cycling coach or mechanic where you can save the most energy on a bicycle, and they won't point to an ultralight carbon handlebar or aero wheels. They will point straight to your drivetrain.
Your bicycle’s drivetrain—consisting of the chain, cassette, chainrings, and derailleur pulley wheels—is a masterpiece of mechanical efficiency. When pristine and properly lubricated, a modern chain drive transfers up to 97% to 98% of your leg power directly to the rear wheel. However, introduce a cocktail of road grit, old sticky oil, and rain residue, and that efficiency drops drastically. A filthy drivetrain can swallow anywhere from 7 to 15 watts of your hard-earned power while acting like liquid sandpaper, grinding down hundreds of dollars in components.
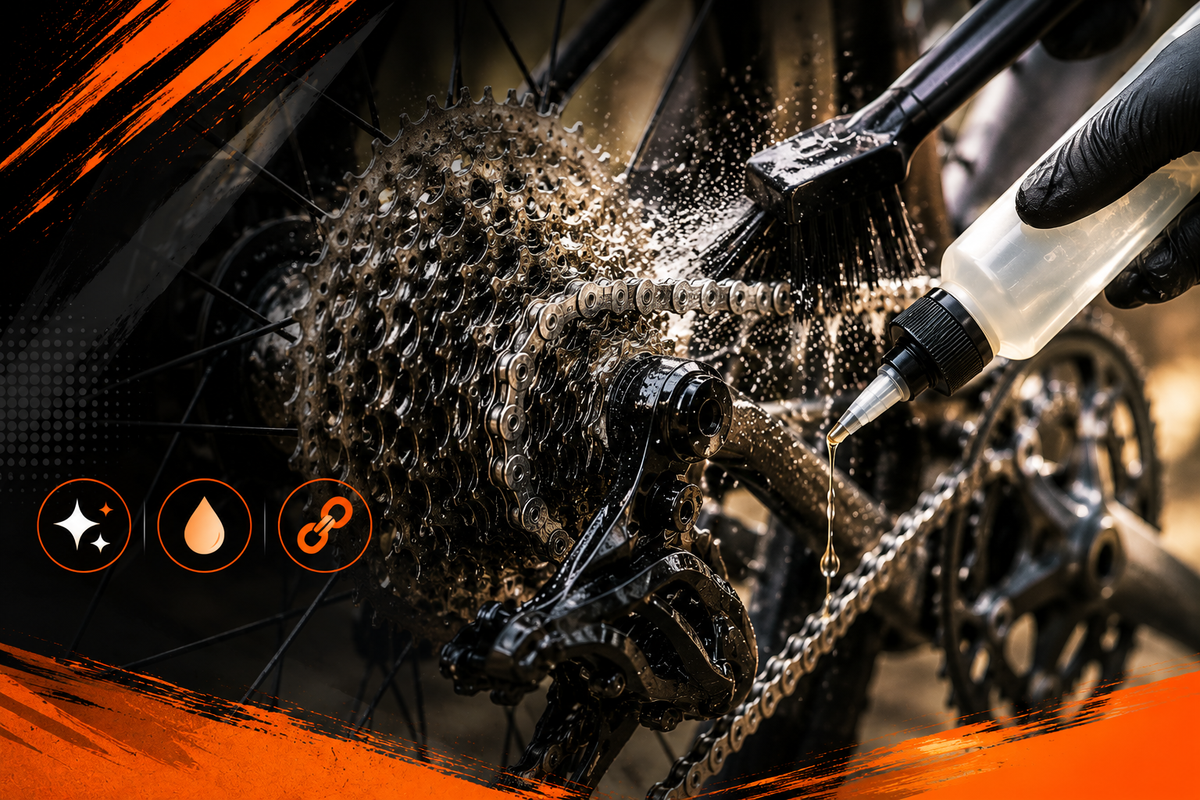
If our previous guide covered quick daily pre-ride checks, this article takes a deep dive into the heart of smooth riding: how to deep-clean your drivetrain, choose the perfect lubricant, and track chain wear before expensive damage occurs.
The Science of Friction: Why Dirty Chains Ruin Rides
To understand why drivetrain care matters, you must understand how a bike chain operates. A standard 11-speed or 12-speed chain consists of roughly 114 links, each containing outer plates, inner plates, pins, and rollers. That means your chain contains over 800 individual friction points constantly pivoting under heavy tension every time you pedal.
When road dust, sand, and ambient dirt hit an oily chain, they cling to the surface and migrate inside the internal rollers. As you pedal:
1. Grinding Paste Formation: Dirt mixes with oil to form an abrasive grinding paste.
2. Accelerated Elongation ("Chain Stretch"): This paste wears down the hardened steel pins and inner bushings, causing the gaps between links to widen.
3. Tooth Destruction: A stretched chain no longer sits squarely in the valley of your cassette and chainring teeth. Instead, it rides up on the teeth edges, rapidly carving them into sharp "shark fins" that cause slipping and jumping gears.
The good news? A structured cleaning and lubrication routine prevents this entirely.
Step 1: The Essential Drivetrain Cleaning Toolkit
Before getting your hands dirty, gather the right tools. Avoid using generic household degreasers like dish soap for deep cleans; they leave slick films or lack the chemical strength to break down oxidized petroleum products.
Citrus or Plant-Based Bike Degreaser: Safe for environment and frame finishes.
Clip-On Chain Cleaning Tool: Reservoir box with rotating brushes.
Cassette/Gear Brush & Gear Floss: Stiff-bristled brush with a curved, serrated tail.
Microfiber Rags: 2–3 clean rags for drying and buffing.
Chain Wear Gauge: A precision metal tool (e.g., Park Tool CC-4 or Pedro's Chain Checker).

Step 2: The 4-Step Deep Cleaning Protocol
Perform this deep clean every 300–500 miles (500–800 km), or immediately following a severely wet/muddy ride.
1. Degrease the Chain
Shift your chain into the big chainring in the front and a middle cog in the rear. Fill your clip-on chain cleaning tool with concentrated degreaser up to the fill line. Snap the tool around the lower run of the chain, hold it firmly in place, and back-pedal the crank arms 20 to 30 full rotations. You will see the clear degreaser turn into pitch-black sludge as internal rollers are scrubbed clean.
2. Scrub the Cassette & Pulley Wheels
Spray degreaser directly onto the rear cassette cogs and the upper/lower derailleur pulley wheels (jockey wheels). Use your gear brush to scrub between each cog. For stubborn, hardened oil buildup on pulley wheels, use the flat edge of your brush’s serrated tail to scrape off the thick rings of grime that collect along the edges.
3. Rinse & Strip Residual Solvents
Rinse the entire drivetrain using a gentle, low-pressure hose stream. Never use a high-pressure jet washer, as high pressure forces degreaser and water past rubber dust seals into your rear hub and bottom bracket bearings.
4. Dry Thoroughly (The Crucial Step)
Grasp the chain with a clean microfiber rag and pedal backward until the outer plates are bone dry. Use air pressure or leave the bike in a warm, dry area for 15 minutes. Crucial Rule: Applying lubricant to a wet or solvent-soaked chain will dilute the lube instantly and prevent it from adhering to internal pins.

Step 3: Choosing the Right Lubricant (Dry vs. Wet vs. Wax)
Not all bicycle lubricants are created equal. Choosing the right formula depends heavily on your local weather, riding terrain, and maintenance tolerance.
Option A: Dry Lube (Best for Cleanliness)
Dry lubes use a light liquid solvent carrier that evaporates, leaving a micro-thin dry film (often Teflon or PTFE).
Pros: Repels dust and dirt exceptionally well; keeps drivetrains looking shiny silver.
Cons: Low water resistance. Must be reapplied frequently (every 80–100 miles) or after riding through wet puddles.
Option B: Wet Lube (Best for Durability & Weather)
Wet lubes are high-viscosity synthetic oils that remain liquid on the chain.
Pros: Stays bonded to metal through severe rainstorms, snow, and stream crossings.
Cons: Acts like a magnet for road dust. Requires frequent wiping down to prevent black sludge buildup.
Option C: Chain Waxing (Best for Efficiency & Watt Savings)
Hot-melt wax dipping or drip-on wax emulsions (like Silca Super Secret or Squirt) have taken the road and gravel world by storm.
Pros: Saves 3 to 6 watts of friction over traditional oils; stays completely dry to the touch so it will never stain your legs or clothing; keeps components lasting up to three times longer.
Cons: Requires stripping 100% of factory grease using mineral spirits before the first application.

Step 4: The Correct Technique for Applying Lubricant
Applying chain lube isn't about dousing the chain indiscriminately. The target isn't the outer silver plates—it is the internal roller pin.
1. One Drop Per Link: Shift to a middle gear. Hold the lube nozzle directly over the lower chain run. Slowly turn the pedals backward while applying one single drop of oil per roller link.
2. Let It Penetrate: Allow the lubricant to sit for at least 15 to 30 minutes (or overnight) so capillary action draws the liquid inside the rollers.
3. Wipe Off 100% of External Excess: Take a clean, dry rag, wrap it gently around the chain, and turn the crank backward 15 to 20 times. The outside of your chain should feel almost dry to the touch. Excess lube on the outside serves no mechanical purpose—it only attracts abrasive road dust.

Step 5: How to Measure Chain Stretch & Protect Your Cassette
As mentioned, chains don't actually "stretch" (the steel plates don't physically lengthen); rather, internal pin wear widens the pitch distance between links. Measuring this wear accurately is the single most effective way to avoid expensive repair bills.
Using a Precision Chain Checker
Drop a drop-in chain gauge tool into the top of your chain links under moderate tension.
· At 0.5% Elongation (11-speed & 12-speed drivetrains): Replace your chain immediately. At this stage, your cassette and chainrings are completely unworn. Dropping a new $30–$50 chain on will restore shifting instantly and double the lifespan of your drivetrain.
· At 0.75% Elongation (8, 9, and 10-speed drivetrains): Upper limit threshold for replacement.
· At 1.0% or Greater: If a chain reaches 1.0% wear, the worn chain links have already reshaped the teeth on your rear cassette. Installing a new chain now will cause it to skip horribly over the worn teeth under load. You will need to replace both the chain AND the cassette.
Conclusion
A clean drivetrain is the mark of a thoughtful cyclist. By investing 20 minutes every few weeks into a thorough degrease, choosing the right lubricant for your climate, and monitoring chain wear with a dedicated gauge, you will enjoy whispering-quiet shifting, save valuable watts, and extend the lifespan of your components by thousands of miles.
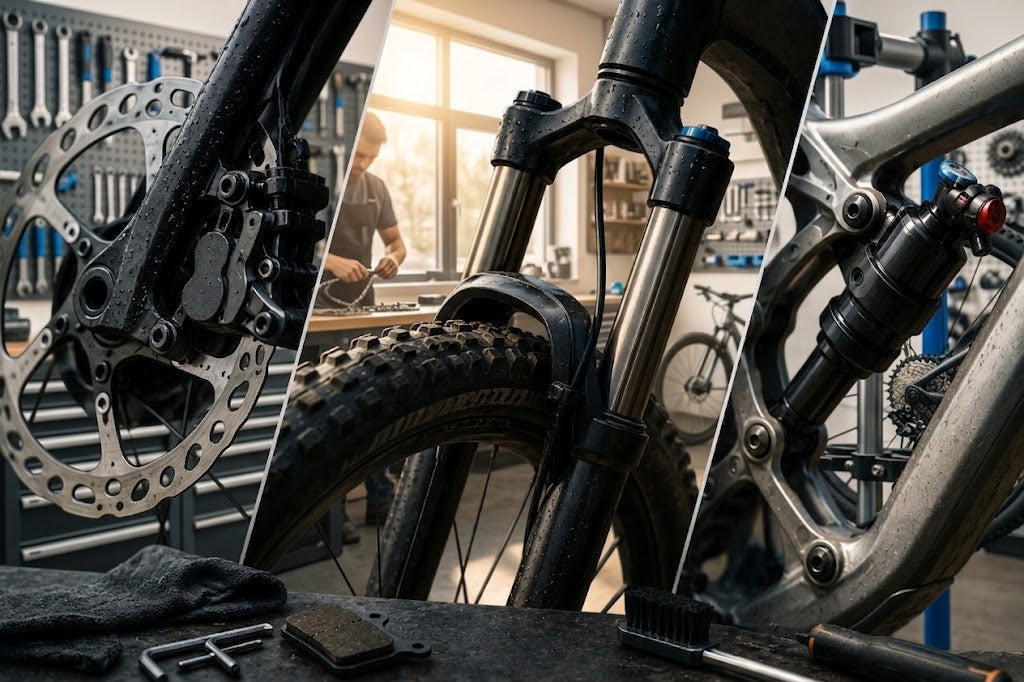
Next Up in Our Maintenance Series: Part 3 — Precision Safety: Brake System Care & Suspension Tuning for Road, Gravel, and MTB.


Leave a comment
This site is protected by hCaptcha and the hCaptcha Privacy Policy and Terms of Service apply.